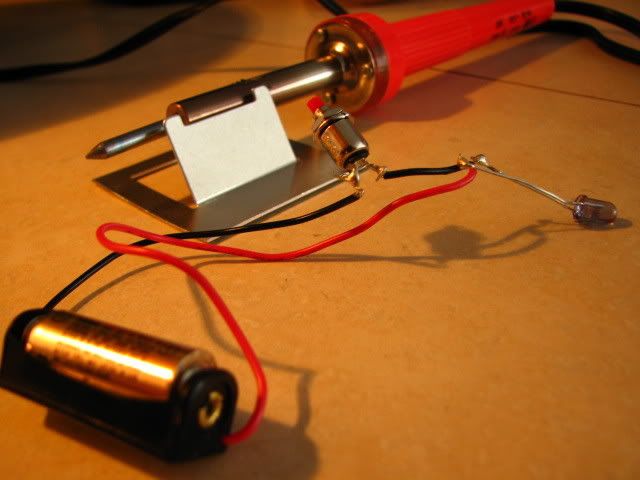
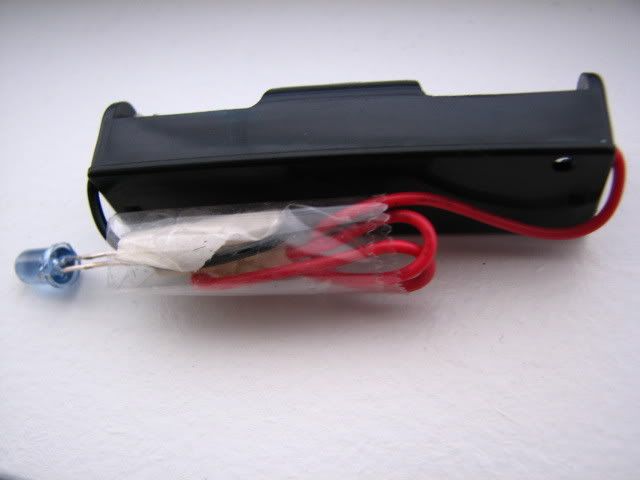
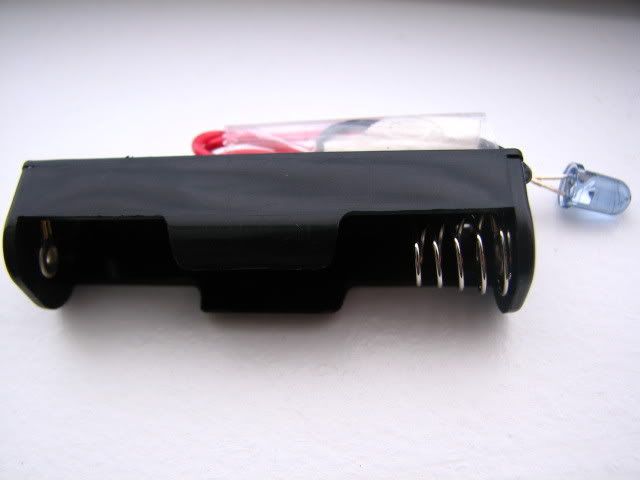
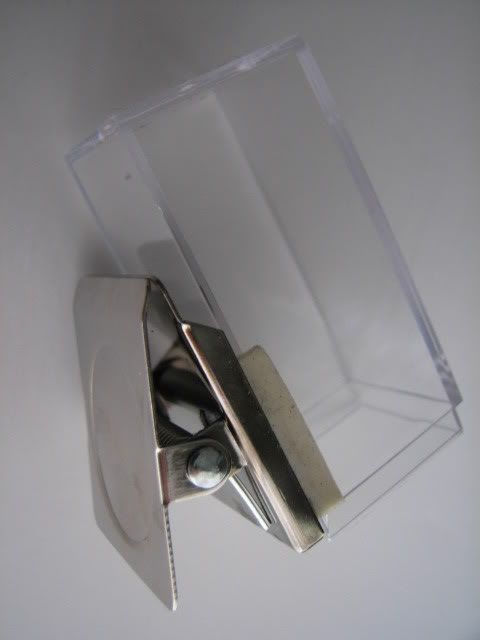
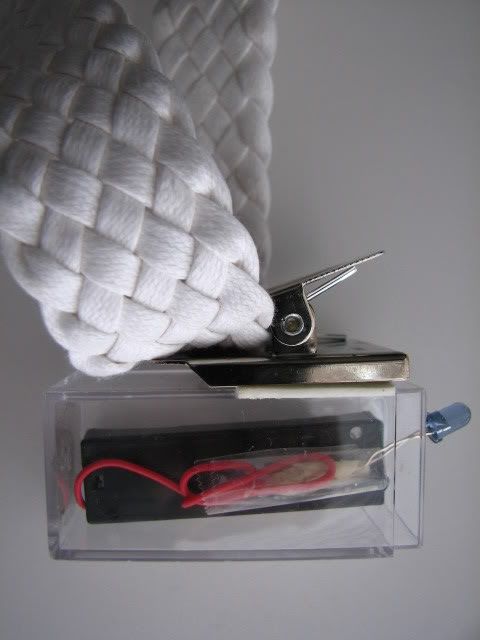
First, look at the list of materials on this post.
Then, take off the switch and tie up both black and red wire together with tape.
additional materials: 1) a clear plastic container I'd been looking for this kind of thing everywhere (Wal-Mart/Home Depot/Office Depot/Office Max/Bed, Bath & beyond/Linen&Things/ Kohls etc.) Finally, I got it from HobbyLobby for $0.77! 2) a magnet clip from Office Depot for $1.99 3) double-sided tape
Put the Infrared light with a AA battery in the box and clip it on the belt.
Done!
Next time, I will talk about how we can calibrate the screen with this belt!
I decide to go back and use Wiimote Whiteboard software now. In stead of using IR pen, I plan to build a LED light attached to the belt like this girl did. Her team created the duck hunt game, but I created Breaking Brick Game.
Breaking Brick game sources: see the list of VDOs here. The list there isn't in order, but you can see the order below.
The guy who recorded all these VDOs is really nice to make this list, but unfortunately, I found this out after I watched about five or six clips already. His VDO tutorials are also easy to watch and to follow along.
As soon as, I have my game done, I will post up my full sources then.
I see a lot of PC users having problem trying to connect Wii Remote with Bluetooth, but I haven't seen this problem with any mac users though. I can't recommend which Bluetooth will definitely work, but I'm using a MacBook and here is what I have.
If you have a problem connecting yours, you might want to check this out.
After you got the WiiMote Whiteboard software installed, you will get a folder that looks like this.
double clicks on the icon and click open
After you opened the software, hold 1&2 button on your Wii Remote.
until it gets connected
If you got a list of error message, just quit and open the application again.
Then, use your IR pen to calibrate the screen (each dot at a time). The calibrate window will disappear after you got all four dots calibrated.
If you want to do double-click, go to preferences ---> Mouse Control ---> Assist Double Clicks
Most people said that you can build an IR pen for under $10. They are probably right if you are familiar with all the materials. Unfortunately, I spent more than $20 to actually get my pen to work.
These are the materials that I used and I got most of them from RadioShack.
switch $2.99
N battery holder $0.99
N batteries $3.99
founded marker $0
pliers (borrowed it from one of my friends) $0
soldering Iron $17.22 (included tax) from Home Depot. It comes with two different tips and solder.
5 MM IR LED 940 NM $1.99 (This one doesn't work very well, though) There're so many types of IR and I have no clue which one I should recommend.
However, I went back to RadioShack and bought the other stuffs to build another pen. I got AA battery holder ($0.99) instead of N battery holder. I realized that the wire which came with battery holder was so fragile, so I also bought 45' electric wire ($6.99).
I got this IR instead and it works better that the one earlier.
IR LED/detector $3.49
I saw an ad from google. There is a link to a website. They sell a specified IR pen that uses with WiiMote Whiteboard for only $7. You might want to check it out!